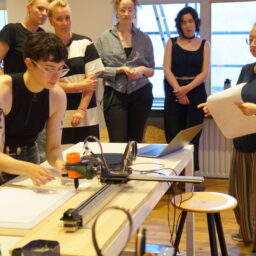
On September 5th 2024, we introduced our research up until now to the public for the first time during the Waag Open event called Hacking the Tool!. Waag Open is Waag Futurelab’s monthly public programme. Within this programme, we highlight current themes, organise a variety of workshops, and present collaborations between scientists, designers and artists. The evening was guided by Aslı and Michelle.
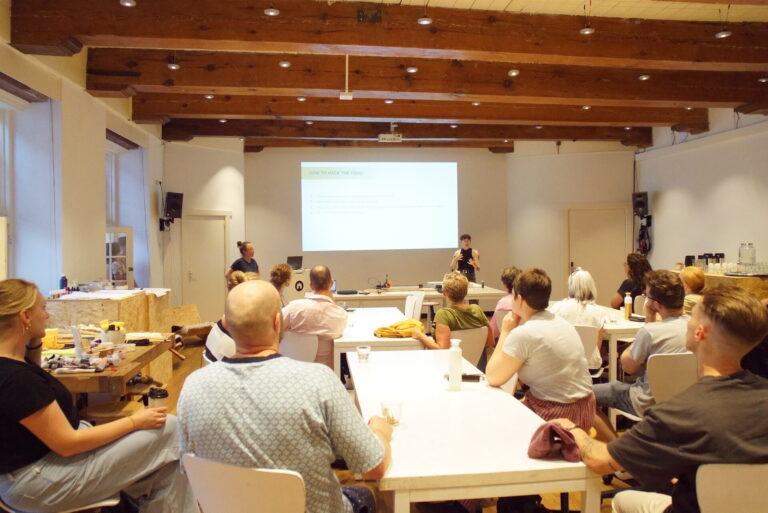
In the workshop, participants were challenged to make their own tools and encouraged to try out our hacked machines. We started the evening with a presentation on Tracks4Crafts, our pilot Hacking the machines and our progress so far, and an introduction of the hacked machines, where we focused on the parameters and constraints that the participants needed to keep in mind while designing a tool (the design rules).
Tool design workflow
To bring structure to the tool design process we designed a workflow. Our proposed workflow was a four step one:
- Think about your tool: what do you want to make?
- Prototype your tool: picking the pattern
- Test your tool: manually test out the motion that you’re exploring with dye on paper
- Try your tool: on the machine!
1. Think about your tool
First, the participants need to think about what they want to make, and how their tool can interface with our tool holder. For this, we wrote down a couple of constraints to keep in mind, to avoid tool creation that would not fit into our machine hack. We broke this down into the following questions:
- What kind of tool do you want to make? A stamp or a brush?
- Check the constraints. What kind of materials are there available to make it? What are the dimensions you can work with? What grid are you using, and how will that work with your tool?
- What is the purpose of your tool? How do you want it to move, what kind of stroke or stamp do you want? Is it going to stamp, to drag, to swing, to revolve? What are the ways the machine can move, and what ways do you want to explore? How are you going to introduce paints/inks to the tool (internally, externally or on the canvas directly)?
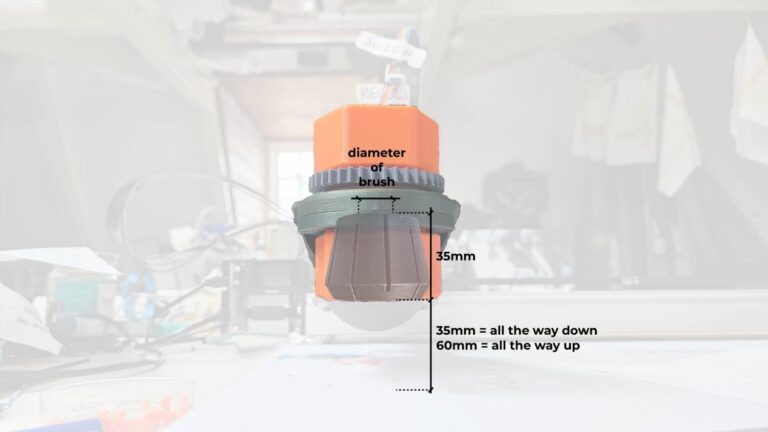
The parameters we provided:
- Diameter of brush 10mm, 12mm, 15mm, 16mm, 26mm, 30mm
- Length of the tool handle
- Width of the brush/stamp
- Ink/paint feeding method
- Waiting time before pen down: 2 seconds (stamping, stroking)
- Waiting time before pen up: 2 seconds (stamping)
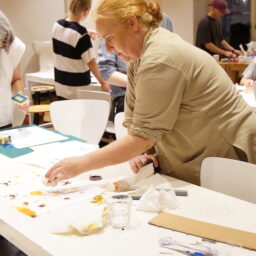
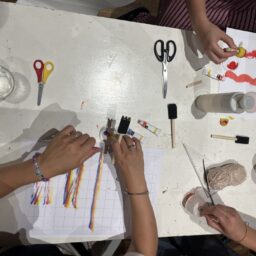
2. Prototype your tool
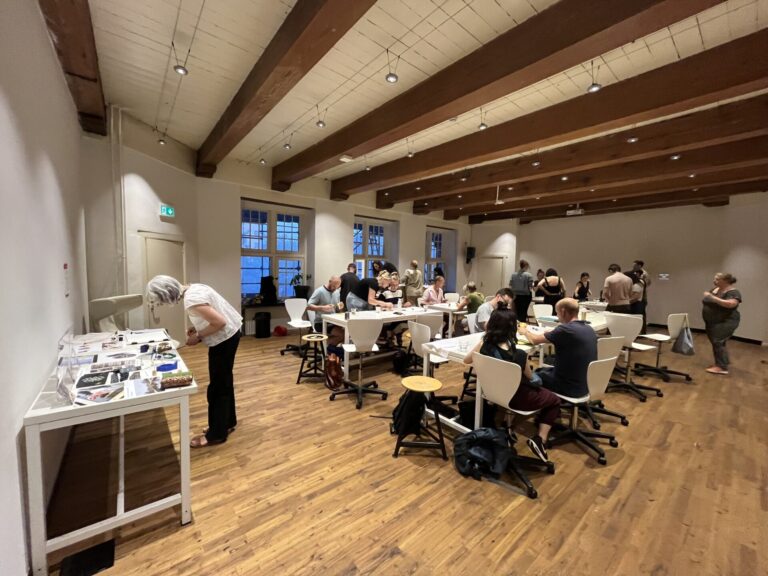
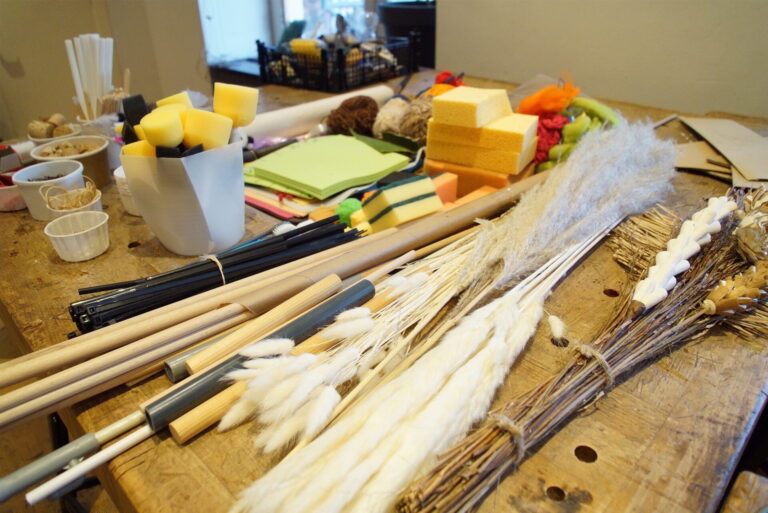
Then we invited participants to start making. We prepared a couple of grids that people could choose from with set distances between dots or lines. We printed these grids on paper, to give a real life feel of the scale that the tools could have. We prepared a table full of materials and tools like scissors and hot glue so people could get to prototyping right away.
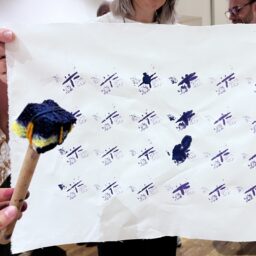
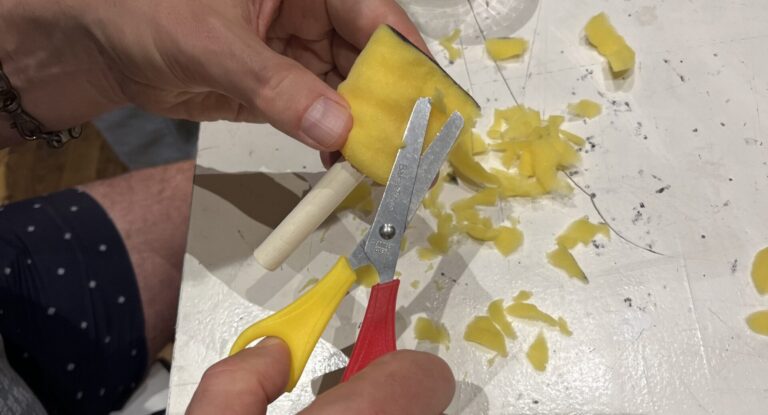
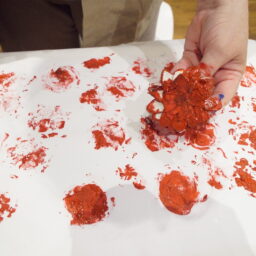
Here a sponge brush is cut to a desired shape:
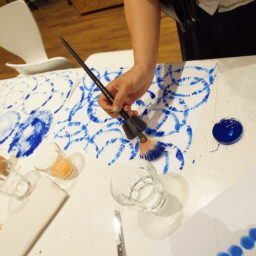
3. Test your tool
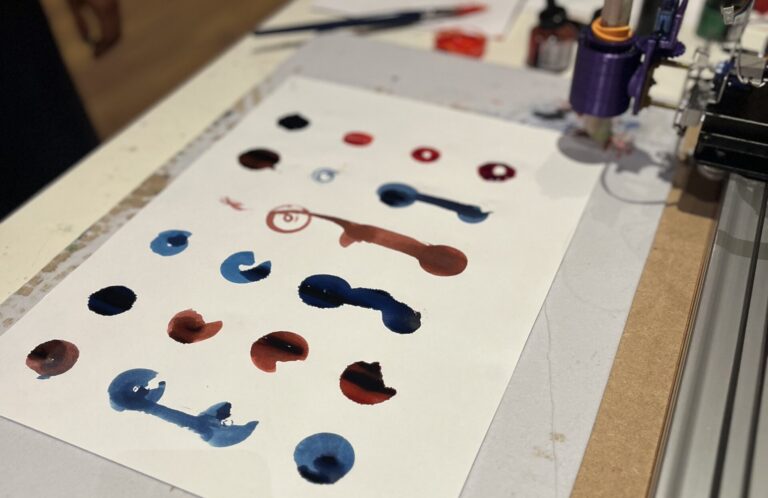
We then encouraged the participants to first try out their tools manually keeping the following formula in mind:
input = tool + motion + ink + canvas = output
We emphasised on thinking about how the machine will move and how you want to use that in your design (think like the machine), and showed examples of this.
4. Try your tool
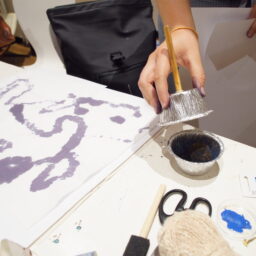
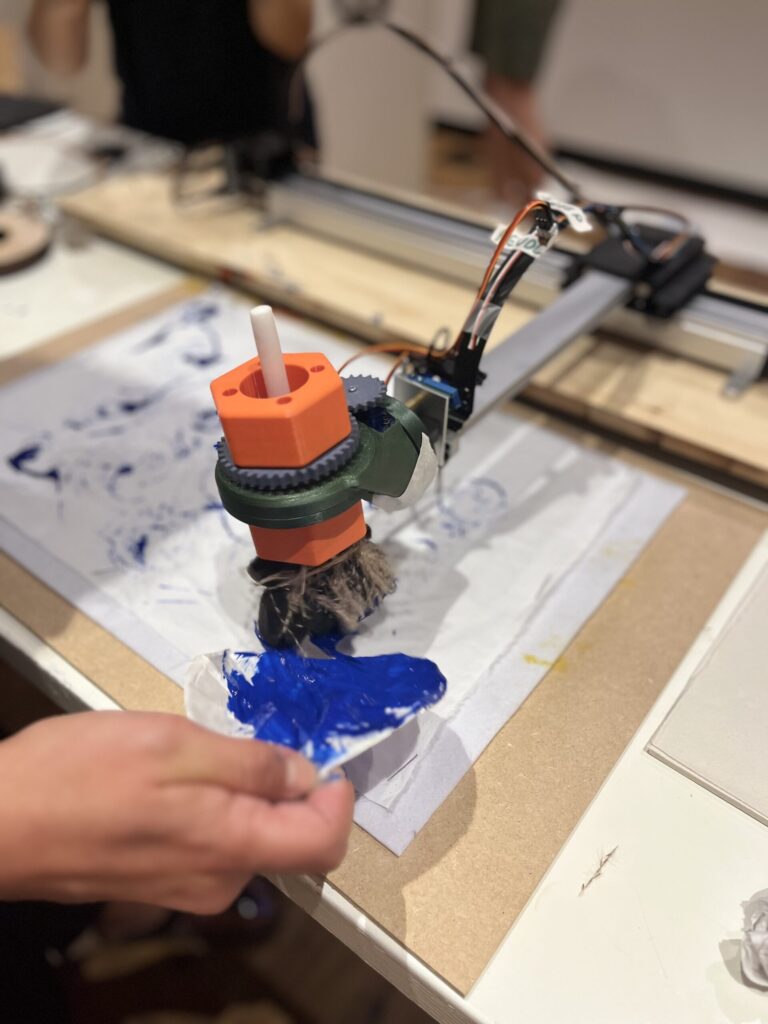
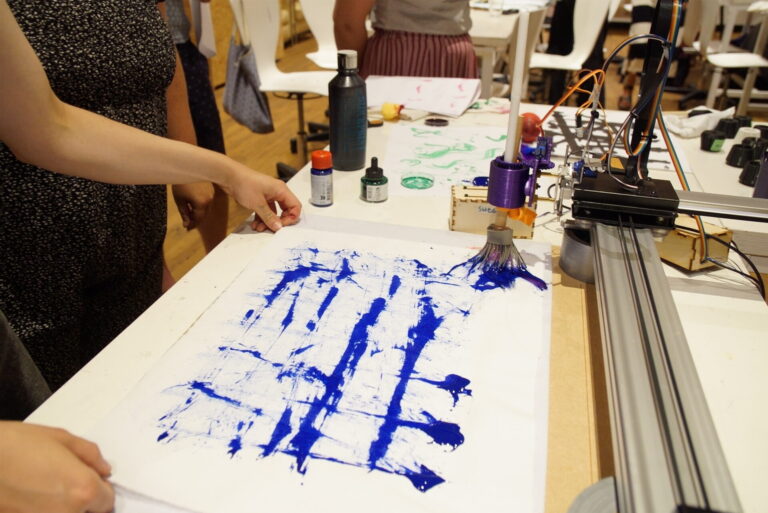
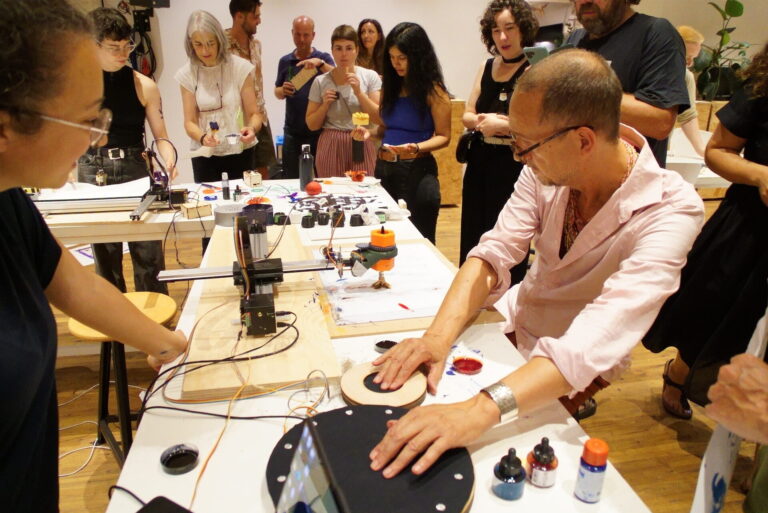
In the final step, we invite the participants to try their tool on one of the two AxiDraws. On the first AxiDraw, we had the latest tool holder installed with the interactive tool prototypes, whereas on the other AxiDraw we had a previous tool holder installed with the first interactive tool (with sliders). This highlighted the different stages of the project still in development.
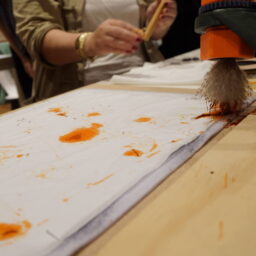
The space between the bottom of the tool and the top of the canvas was in some cases too small to add extra paint to the brush, so the solution found here was to fold open a paper cup and put paint on there. This was a suggestion of an observing participant to the person with the brush, which was a nice display of how the participants interacted with and tried to help each other.
Observations
We thought that we had the whole step-by-step process covered. In practice however, a lot of people dove in head-first into the prototyping and came to the machines with dry, untested brushes. The tools didn’t always work yet since they did not always keep the constraints in mind. An interesting observation to us was that some participants looked for ways to stretch the constraints. For example, we said that one of the constraints was the maximum distance between the tool holder and the canvas. We discussed beforehand that it would be possible to change this distance by changing the height of the entire AxiDraw, but we figured it would be easier to keep it at the same distance for everyone. One duo had a brush that was way too big, and Michelle told them so. They immediately asked if they could place the machine on an elevation to combat the constraint. Michelle said that it would be possible, but explained that we decided not to during the workshop. She turned around and then back to the machine, and the duo already found two rolls of duct tape to elevate the machine, so we went with that.
It was also great to see how the participants took charge of the design process with the machine. A lot of them knew exactly what they wanted and tried to get it out of the machine, sometimes in multiple iterations with the machine where they learned from each previous try.
Another thing we learned about our own process with Python is that when a computer goes to sleep, the Python file pauses. We noticed this when the AxiDraw stopped moving when the computer screen went to black. This pausing feature is actually something that we were looking for, but didn’t find yet. This shows that it is possible, hopefully in a manner that is easier to control (with a button for example) than this.
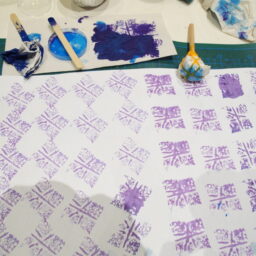
During the evening, something broke in the last version of the tool holder, which we could have fixed but it would have taken 10 minutes that we didn’t have, since the participants were all eager to try their tools. This meant it could still be used, just that the revolving didn’t work anymore.
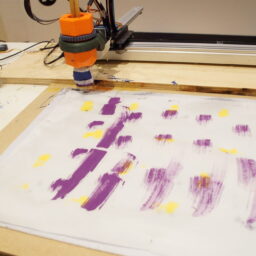
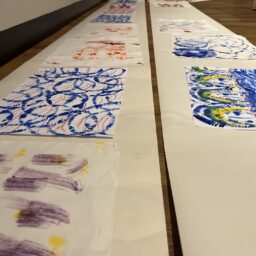
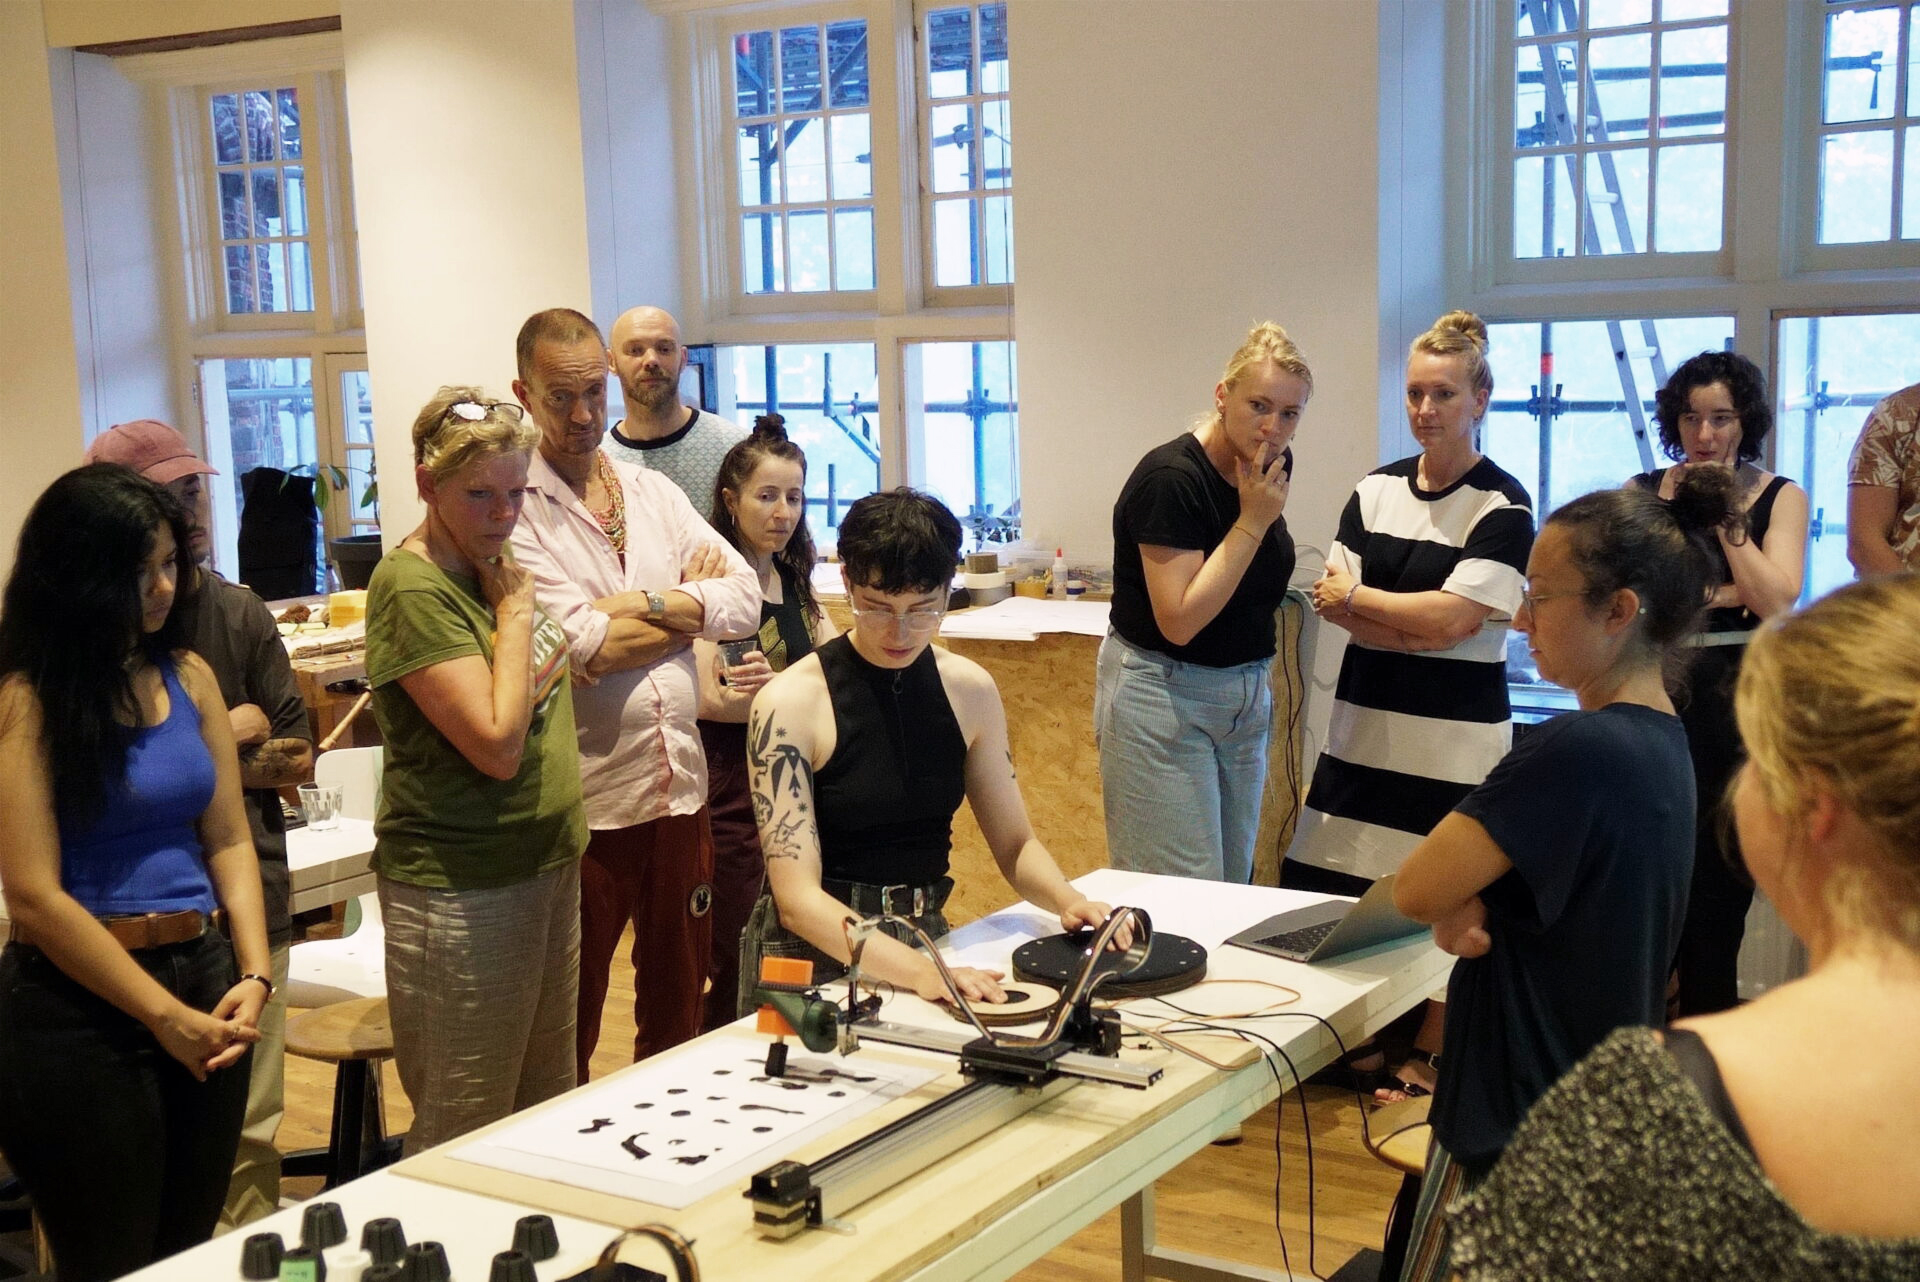
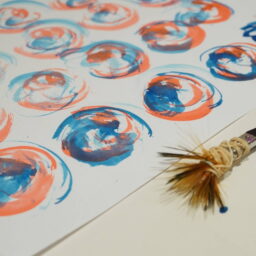
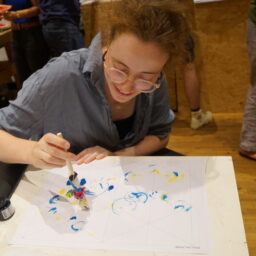
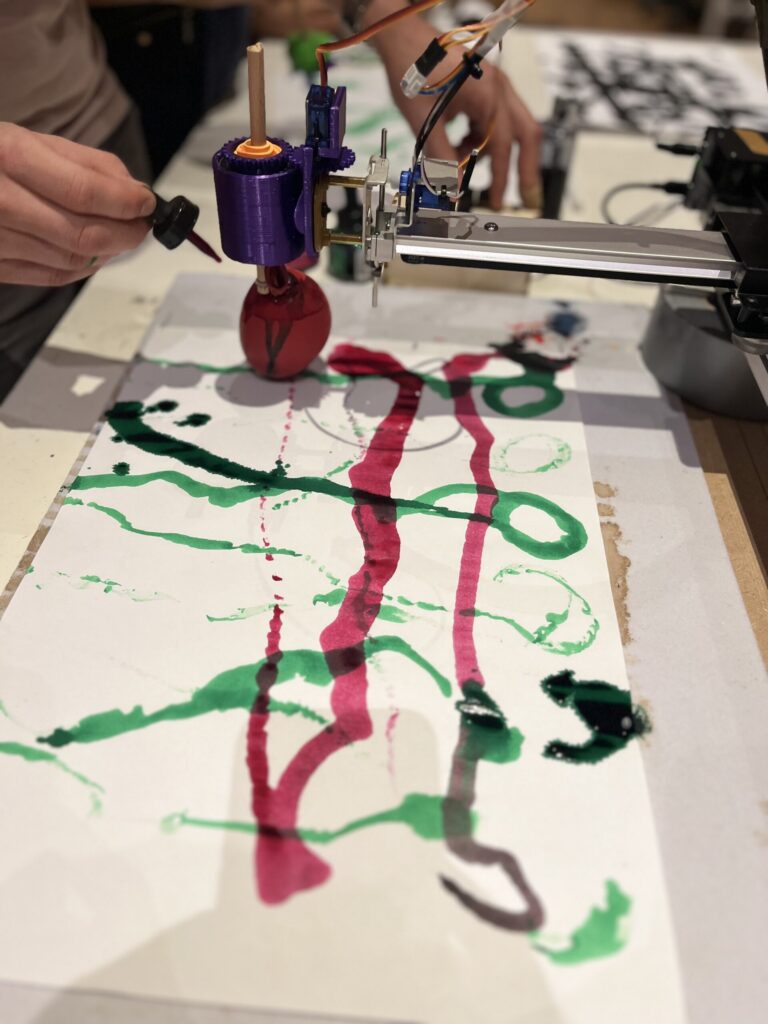
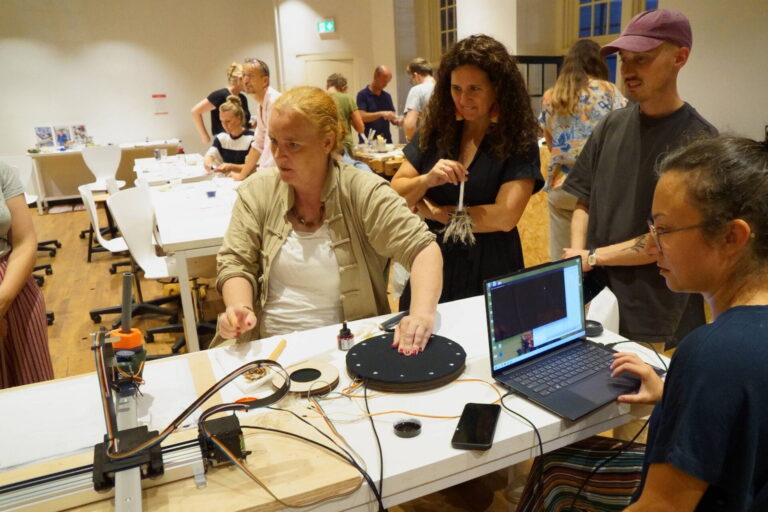
The plot below is the result of a human/human/machine collaboration. It was very interesting to see how the duo communicated during the making process. The person on the left was the one taking the lead and requesting the person on the right to add red or blue ink at the top of the brush, where they had a straw to drip ink on their tool. A human display of ‘if this, then that’ computer code: very controlled and very direct.
Interactive tool testing
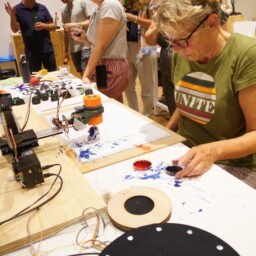
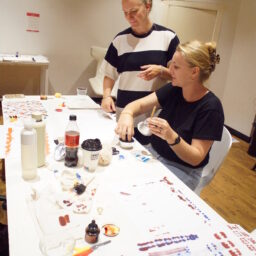
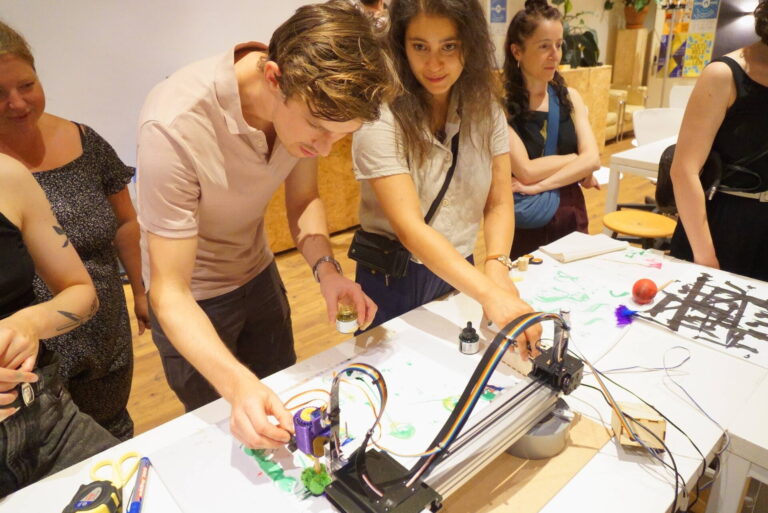
This evening was also an opportunity for us to try out our first interactive tool prototypes. We already made a first input device with two slide potentiometers, but now we also had two devices that you could use to control angle, speed and pressure in a more controlled way. Here you can see one of the participants using both the pressure device and the revolution speed function in the middle of the other device.
We learned quickly that it was too complicated for one person to deal with four variables: to control having enough ink on the tool in addition to the interactive rotating, revolving and pressure proved to be pretty overwhelming. Apart from that, not all brushes were very stable in their first iteration, which in combination with the lack of control lead to messy results. It worked better to either collaborate with someone (i.e. one person deals with the paint, another deals with the interactive control).
One thing to keep in mind is that the interactive tools also have a bit of a learning curve, just like any other craft. But we still aim to make the interactive devices more intuitive and logical in their interaction. You can read more about the further development of the interactive devices here.
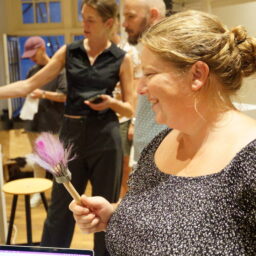
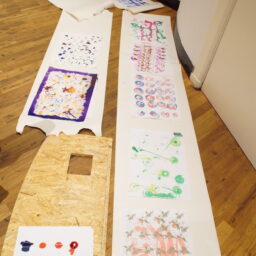
Impressions