
Sven Dekker, a previous FabLab intern and engineering student, worked on the second version of the tool holder. You can read more about the development phase of this prototype here. This build guide has been taken from his documentation website.
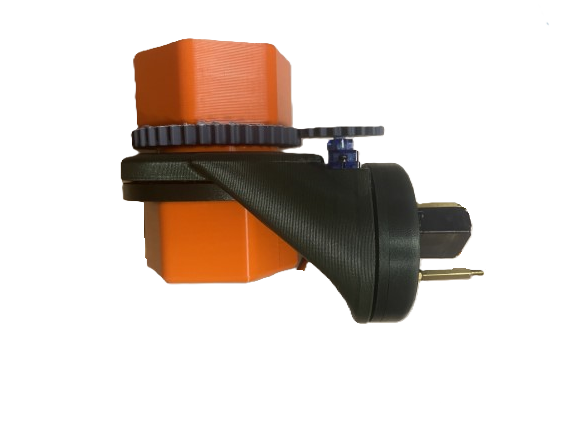

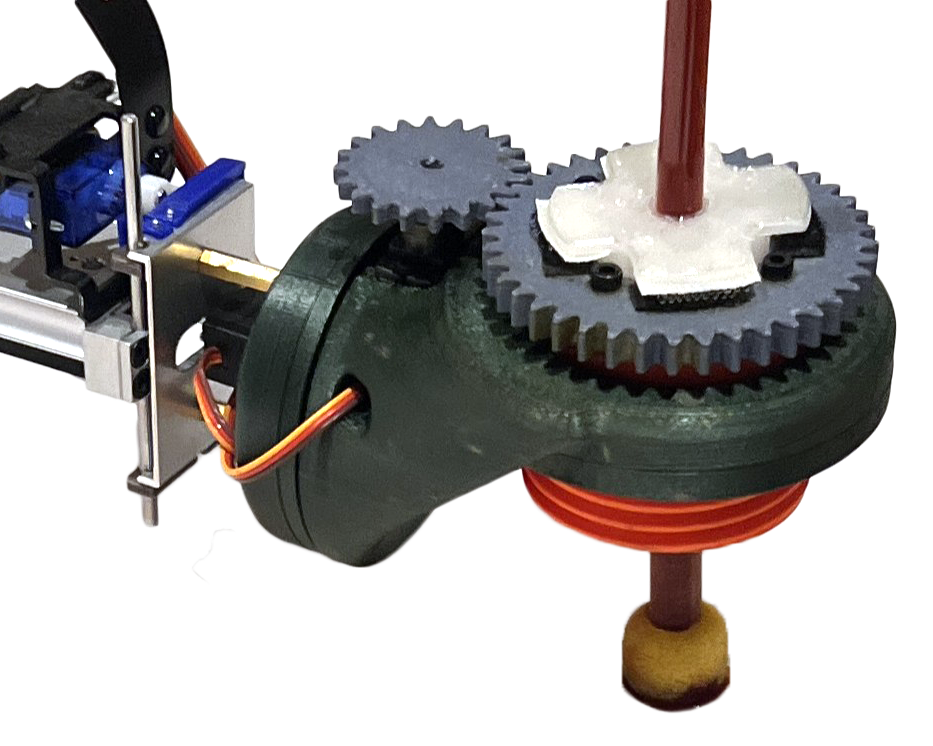
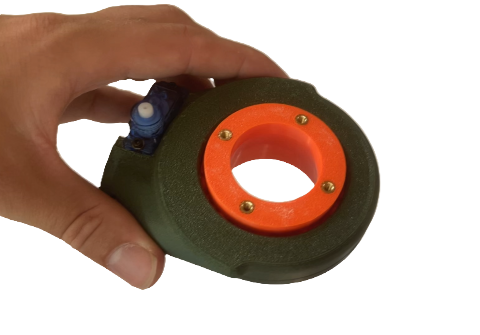
The original tool holder design includes a collet system. The latest iteration of this tool holder has been adapted slightly to work with the Hollow parametric tool: by removing the collect system and adding some velcro on top, it becomes lighter and changing brush is faster.
Bill of Materials (BOM)
| Part Type | Part Name | Quantity |
| 3D printed | Back | 1 |
| Front | 1 | |
| Bearing cylinders | 1 | |
| Lid | 1 | |
| Arm | 1 | |
| Large gear | 1 | |
| Small gear | 1 | |
| Cap | 1 | |
| Collet* | at least 1 | |
| Electronics | TS90M Mini Servo – 1.8kg | 1 |
| TS90M Mini Servo – 1.8kg – Continuous | 1 | |
| Assembly components | M3*OD4.6*H5.7 heat insert | 10 |
| M2*OD3.6*H3.6 heat insert | 4 | |
| Spacer GN 6220-ST-M3-20-B | 2 | |
| Hex Flat Countersunk Screw M3x8 | 5 | |
| Hex Cap Head Screw M2x8 | 4 | |
| M2 Washer | 4 | |
| * 3D print collets to required dimensions | ||
Build Guide
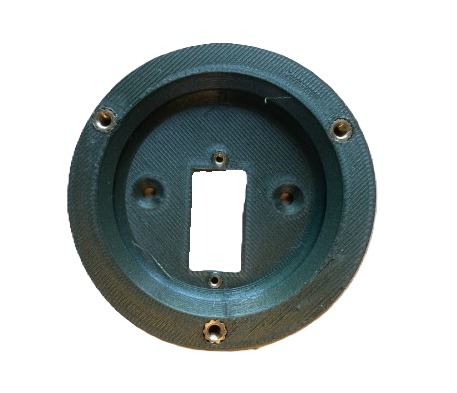
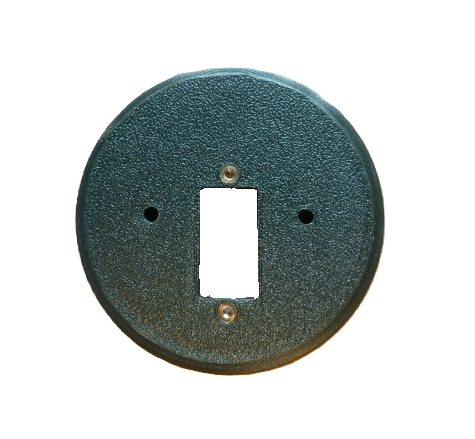
Step 1 & 2 Insert heat inserts:
- M3*OD4.6*H5.7 x3
- M2*OD3.6*H3.6 x2
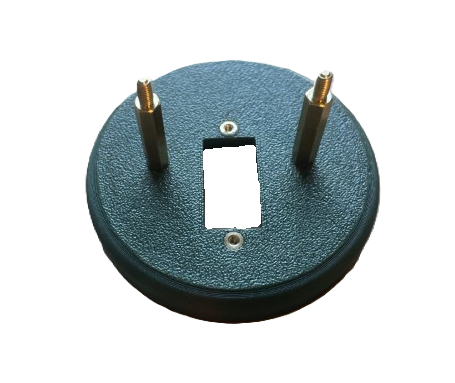
Step 3 Install the spacers using M3 screws:
- Spacer GN 6220-ST-M3-20-B x2
- Hex Flat Countersunk Screw M3x8 x2
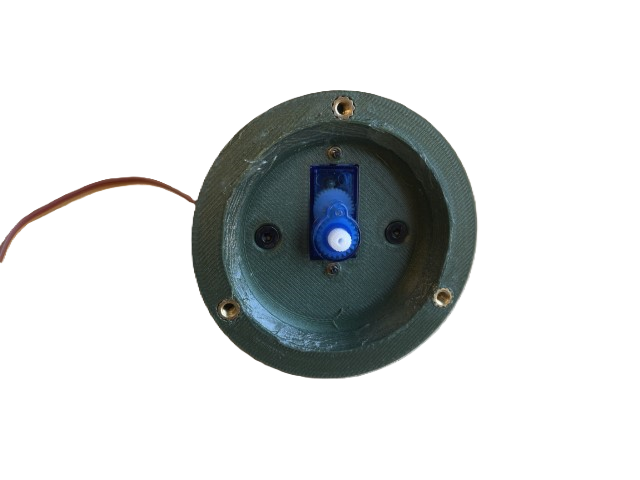
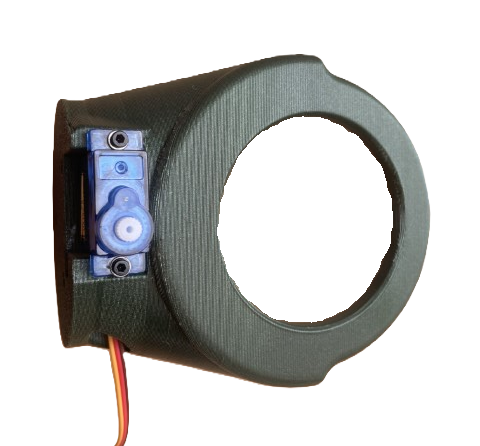
Step 4 Install the servo using M2 screws with washers:
- Hex Cap Head Screw M2x8 x2
- M2 Washer x2
- TS90M Mini Servo – 1.8kg
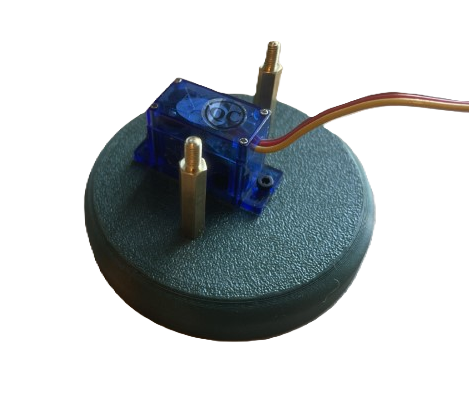
Step 5 Install the plastic arm (though screwing it down isn’t necessary).
Step 6 Insert heat inserts:
- M3*OD4.6*H5.7 x3
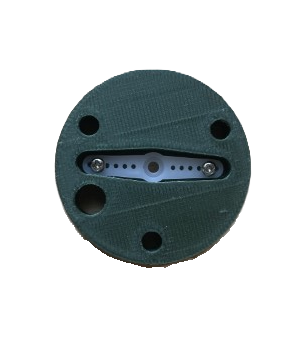

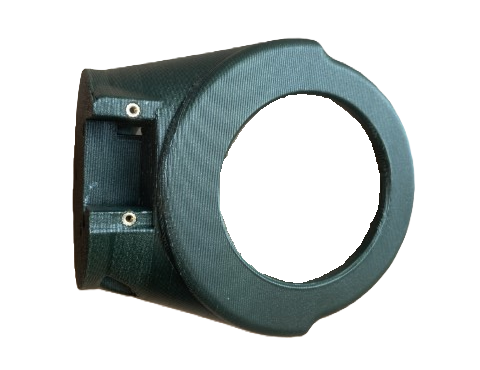
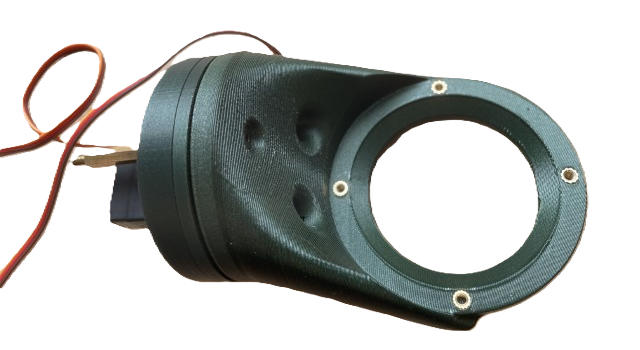
Step 7 Install one plastic part into the other.
Step 8 Since the servo is a 180-degree servo, ensure both M3 screws are accessible through the hole in the middle part.
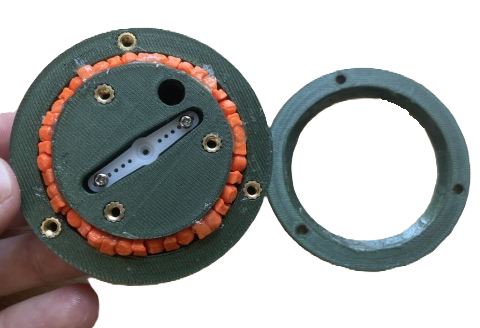
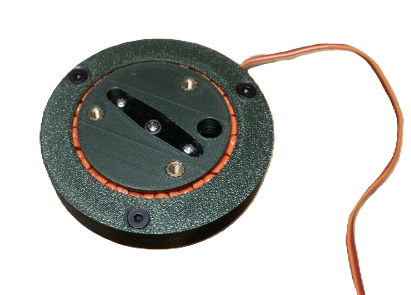
Step 9 Insert all the small cylinders and grease them. Figure below still shows the spacers, but they are removed afterwards, the holder worked better without spacers.
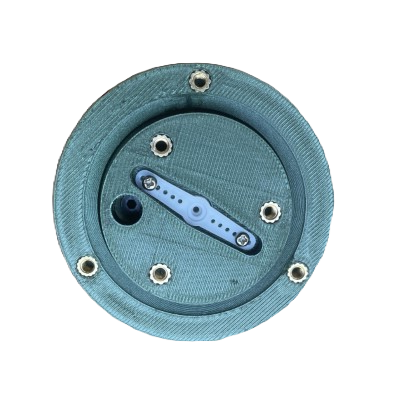
Step 10 Screw the lid onto the bearing using M3 screws. Also, attach the plastic part using the included screw:
- Hex Flat Countersunk Screw M3x8 x3
Step 11 & 12 Insert heat inserts:
- M3*OD4.6*H5.7 x4
- M2*OD3.6*H3.6 x2
Step 13 Install the servo using M2 screws and washers:
- Hex Cap Head Screw M2x8 x2
- M2 Washer x2
- TS90M Mini Servo – 1.8kg – Continuous
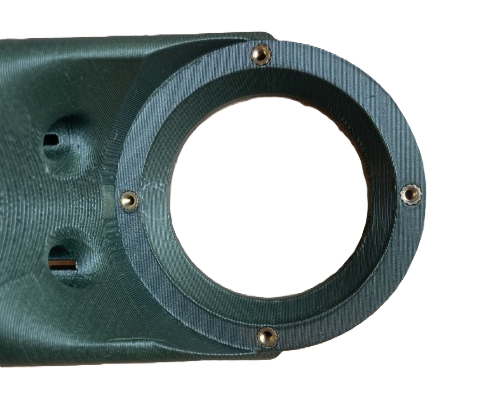
Step 14 Assemble the two parts using M3 screws:
- Hex Flat Countersunk Screw M3x16 x3
Step 15 Insert heat inserts:
- M3*OD4.6*H5.7 x4
Step 16 Insert all small cylinders and ensure they are greased. Figure 16 still shows the spacers, but I removed them afterward. I’ll discuss improvements to the bearing in the recommendations. Afterward, attach the lid using M3 screws:
- Hex Flat Countersunk Screw M3x8 x4
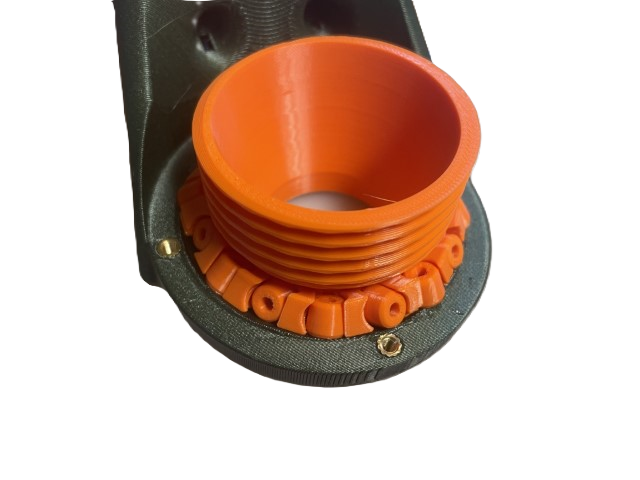
Step 17 Install the large gear on top of what you see in Figure 15. Then place the orange part on top of that and secure it with M3 screws:
- Hex Flat Countersunk Screw M3x20 x4
To install the small gear, use the screw included with the servo.