
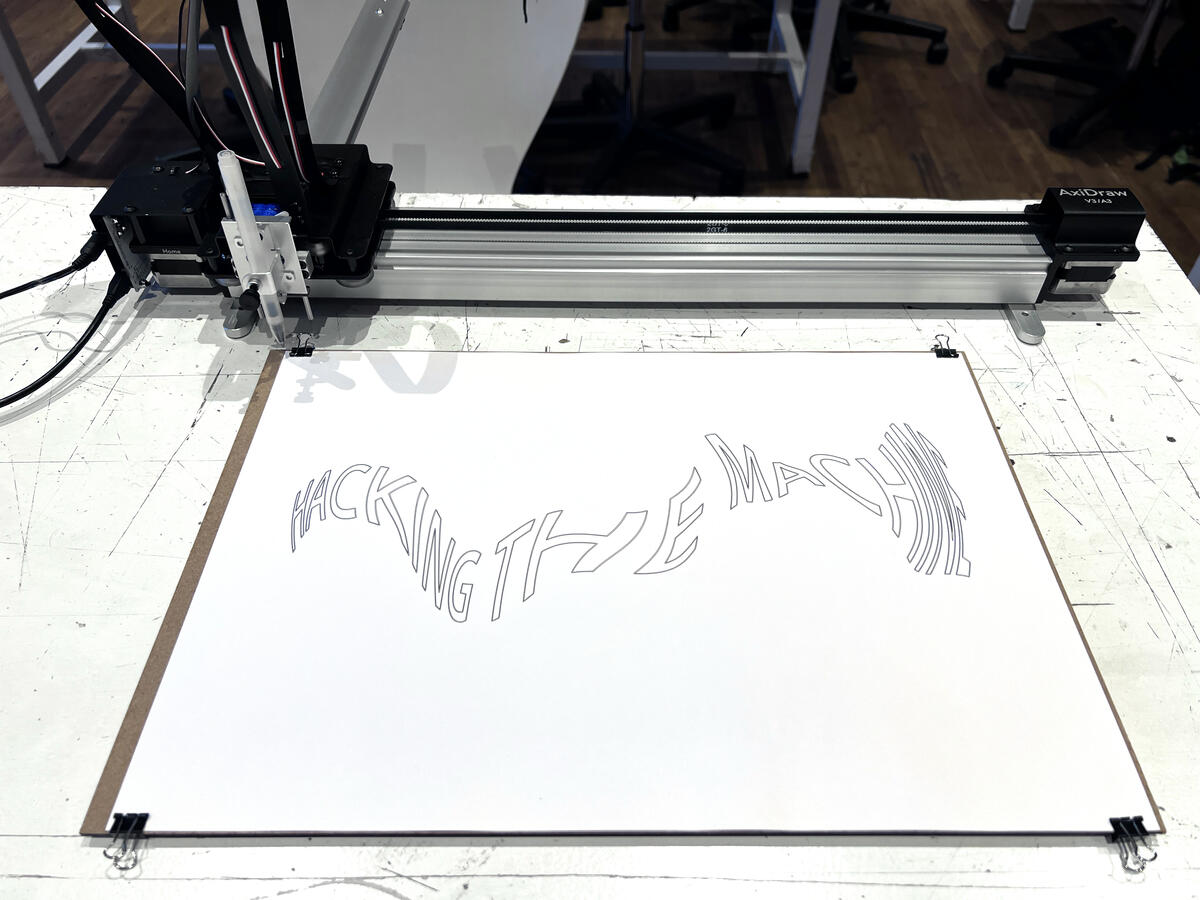
One of the two machines we’re developing hacks for is the AxiDraw V3/A3, a precision plotter known for its versatility in 2D motion-based tasks like drawing, writing, or marking surfaces. While the AxiDraw is typically operated via the Inkscape plug-in developed by Evil Mad Scientist Laboratories (the makers of AxiDraw), this standard approach provides limited control over the motion logic of the machine. For our purposes—hacking, experimenting, and choreographing machine movement—we needed more freedom.
We began with the conventional setup to understand the basics of AxiDraw operation, and then explored alternative programming interfaces that offer deeper, programmable access to the machine.
Getting Started: Inkscape Plug-In
Our first test involved using the AxiDraw Inkscape plug-in. This is the most accessible way to operate the machine and is ideal for basic plotting tasks.
Steps:
-
Prepare a vector image sized to fit the A3 drawing area (landscape orientation).
-
Attach your material (e.g., paper or fabric) securely to the provided AxiDraw board.
-
Insert a pen into the pen holder and tighten it to ensure a consistent drawing height.
-
The AxiDraw’s origin is the top-left corner, so the material must be aligned accordingly.
-
Send your vector drawing to the machine using the AxiDraw extension in Inkscape.

This method is quick and reliable for straightforward tasks, but it offers limited space for experimentation. When the goal is to respond to material behavior, choreograph movement, or embed timing and interaction into the act of drawing, the plug-in’s fixed workflow becomes a constraint rather than a tool.
Beyond the Plug-In: Communication Interfaces
To unlock more advanced control, we explored alternative communication and programming interfaces for AxiDraw. These tools allow us to send custom commands, define unique movement patterns, and integrate AxiDraw into broader systems.
Available Interfaces:
-
AxiCLI (Standalone CLI Interface) The AxiDraw Command Line Interface AxiCLI is an application programming interface (API) for using AxiDraw from either the command line interface (CLI) or within shell scripts and other environments that make use of shell commands. The primary function of this software is to plot SVG documents.
-
AxiDraw Python Module The AxiDraw Python module is an application programming interface (API) for AxiDraw, designed to let you control the AxiDraw from within your own Python scripts. Offers:
-
SVG plotting
-
Manual calibration/test operations
-
Interactive XY motion control with direct commands
-
-
Direct USB Serial Interface Low-level access through the EBB (EiBotBoard) command set. Useful for developers needing raw, real-time machine control via serial communication.
-
CNCServer API A RESTful JavaScript-based API that supports commands like goto(x, y), pen up, and pen down. Can run from CLI or in the background with RoboPaint.
-
CNCServer Scratch API A simplified, URL-based command system ideal for use with environments like Scratch. Uses turtle graphics-type commands through basic GET requests.
-
AxiDraw for Processing Enables real-time plotting within Processing, making it ideal for generative art and interactive applications.
Our Choice: AxiDraw Python Module
After testing several options, we found the AxiDraw Python module to be the most flexible and powerful for our needs. It gives us direct access to the machine’s motion commands and allows integration with other design environments like Grasshopper.
Operation Modes:
-
Plot Mode Used to draw directly from existing SVG files.
-
Manual Mode Useful for calibrating the machine or testing pen positions and heights.
-
Interactive Mode Offers full control of XY motion through Python scripting. This is the only mode that supports working in millimeter units, which aligns with our design workflows.
For our machine hack, we chose Interactive Mode, as it offers direct XY motion control and is the only mode that allows switching to millimeter units—an essential feature for integrating the AxiDraw into our Grasshopper-based workflow. This mode gave us the flexibility to script movement precisely and responsively, laying the foundation for custom tool interactions and non-standard plotting behavior.
How to Set Up the Python Environment
-
Install Python 3 Download and install the latest version of Python 3. Instructions here.
-
Install the AxiDraw Python Module Open your terminal and run:
python -m pip install https://cdn.evilmadscientist.com/dl/ad/public/AxiDraw_API.zip
-
(macOS only) Set Python Launcher as Default To easily run .py scripts by double-clicking:
-
Right-click any Python file.
-
Select Get Info.
-
Under Open with, choose Python Launcher.
-
Check “Change all” to apply it system-wide.
-
Additional Tools and References
-
pen height jig – A helpful tool to calibrate consistent pen pressure and drawing height.
-
axidraw-v3-a3-processing-integration – Useful for live plotting applications, generative graphics, or interactive experiments.